Work with Workspaces
Your first Workspace is added to the Company automatically as soon as you purchase your first NoPass™ subscription. Workspace is the place where you as an Administrator can create Services, manage users, settings, and analyze reports. It is possible to create more than one Workspace within a Company, though every new Workspace requires a new subscription and acts as a separate tenant with its particular set of Services, users, and settings.
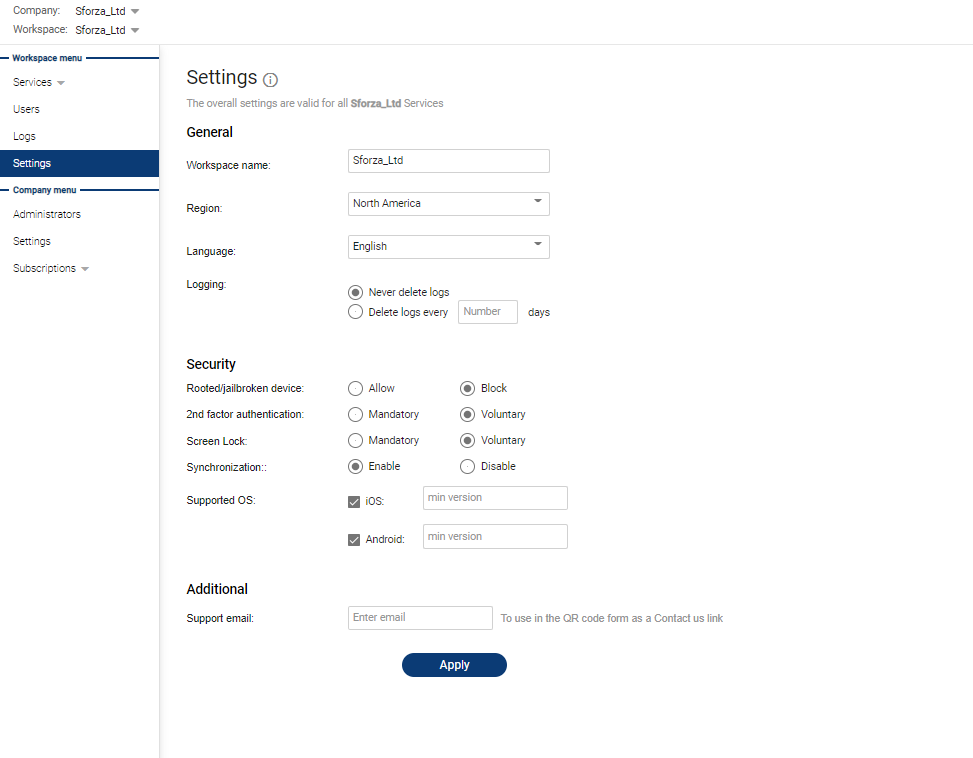
Settings
You can set up settings that would be available for all Services of the respective Workspace.
Procedure
1. In the Workspace menu, click Settings.
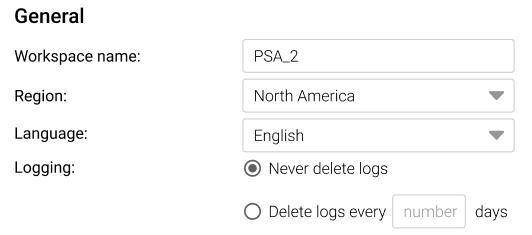
General settings
2. You can set up the following general settings.
- Enter the new name of your Workspace in the Workspace name field.
- Choose the region where you plan your activities from the Region drop-down list.
- Choose the language of your Company Admin Console from the Language drop-down list.
- Choose what kind of log rotation you would like to apply: Never delete logs or Delete logs. If you plan to delete logs, enter the number of days upon which the logs will be deleted.
- Click Apply to save your changes.
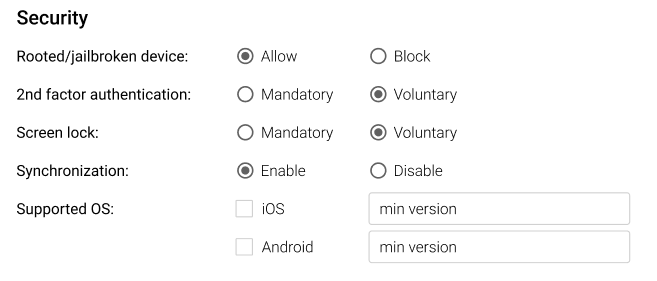
Security settings
You can also set up the security settings.
3. In the Security window, set up the following parameters:
- Rooted/jailbroken device: select Block to restrict users from using such devices.
- 2nd-factor authentication: select Mandatory in case you require 2FA from your users and then select the type of authentication you want your users to use.
- Screen lock: select Mandatory to enable the use of screen lock on user's devices.
- Synchronization: select Disable if you deny synchronizing the user’s accounts on their devices.
- Supported OS: regulate the access to the NoPass™ system from devices with certain OS or OS versions.
4. Click Apply to save your changes.
Additional settings
5. In the Additional window, enter your corporate email in the Supporting email field, so that the users will be able to contact you as an administrator in case they need support.
6. Click Apply to save your changes.

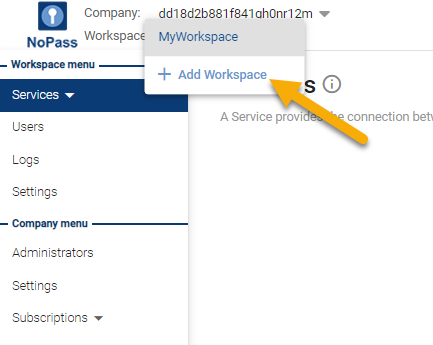
create a new workspace
Your first Workspace is created automatically after you create your first Company. For more details, see the Company management. You can also add a new Workspace within the frames of your Company, manage the Workspace settings, or delete the Workspace.
Procedure
1. To add a new Workspace, click your Workspace name and click +Add Workspace in the dropdown list.
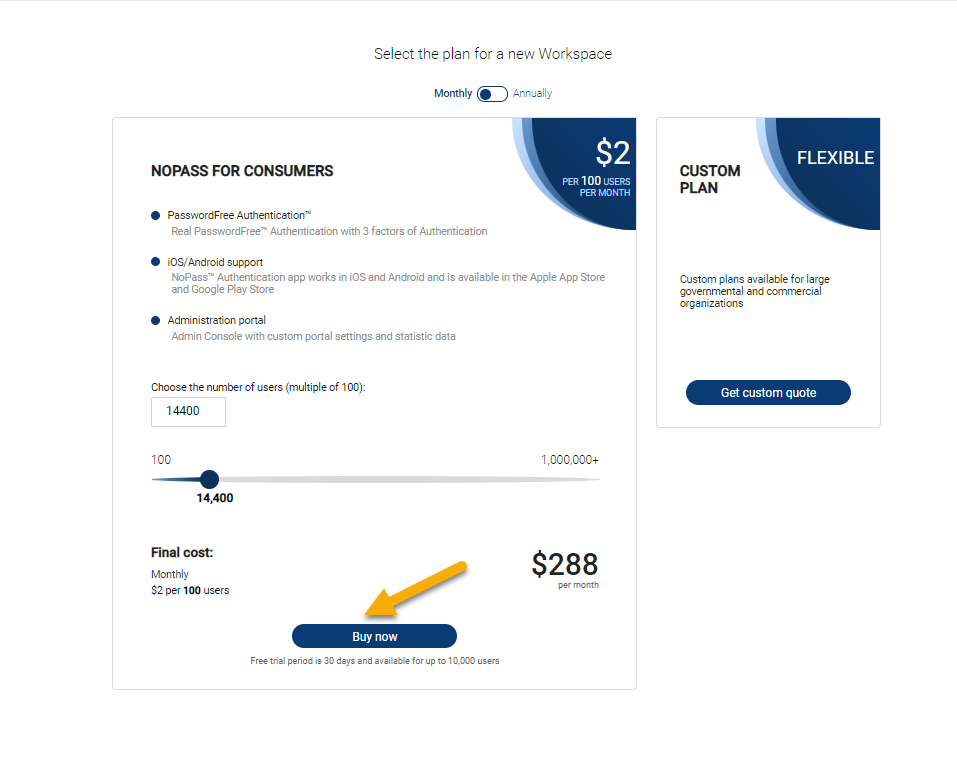
3. To create a new Workspace, a new Subscription is required. Choose the subscription plan for your new Workspace.
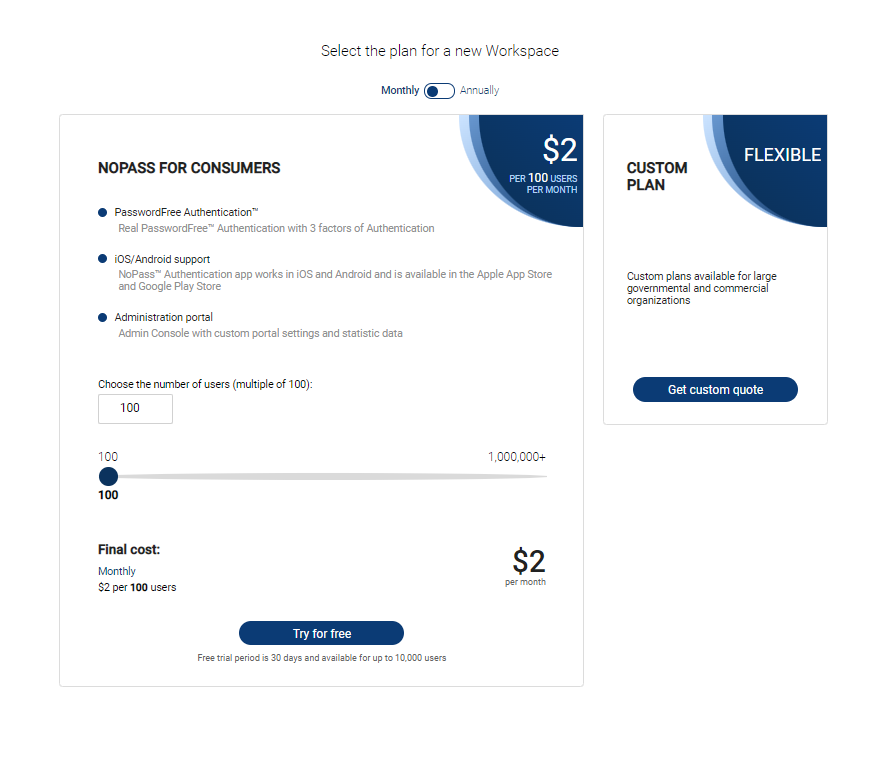
Depending on the number of users for your Subscription, you can either apply for a 30-day trial period or buy your Subscription immediately.
Subscribe to a Standard plan with a trial period
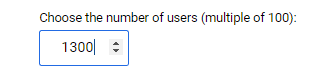
1. Set the number of users:
- with the up-down controls or slider on your desktop computer.
Up-down controls Slider

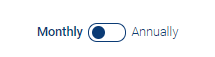
2. Select the type of payment: monthly or annually by moving the toggle.
3. Click Try for free.
4. The new Subscription is available only if you have logged in to or created your Profile. For more details, go to Create a Profile.
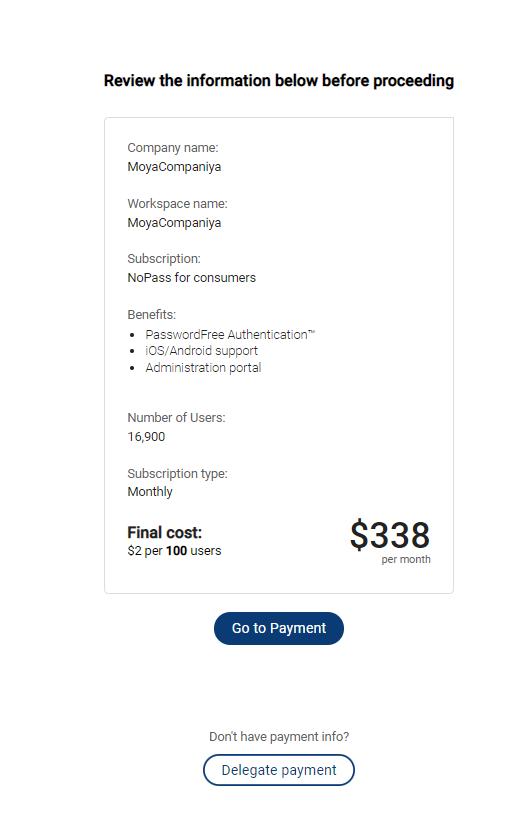
5. After you have logged in to or created your Profile, perform the payment. On the following page, review the information on your Subscription and perform one of the following actions:
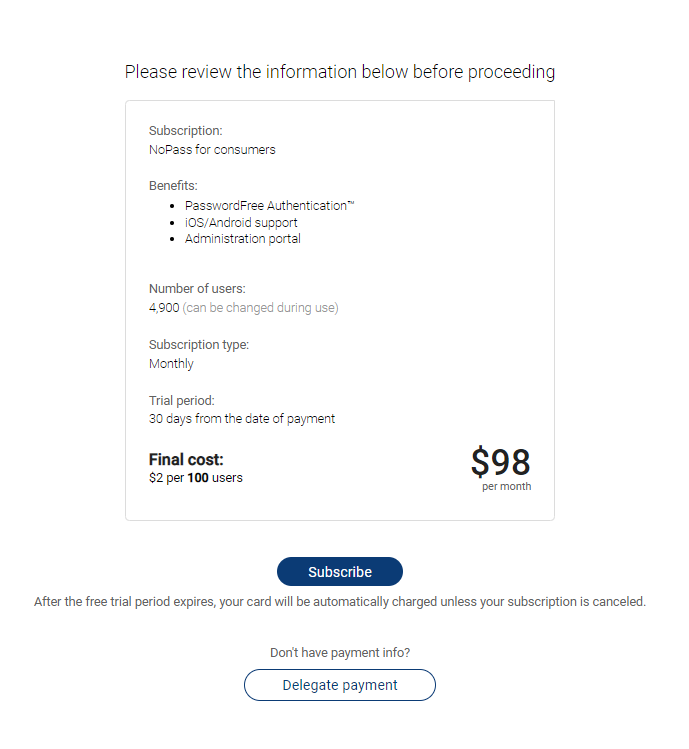
- If you are authorized to perform the payment, click Subscribe.
- Otherwise, click Delegate payment.
6. On the payment screen, perform the following actions:
If you are authorized to perform the payment:
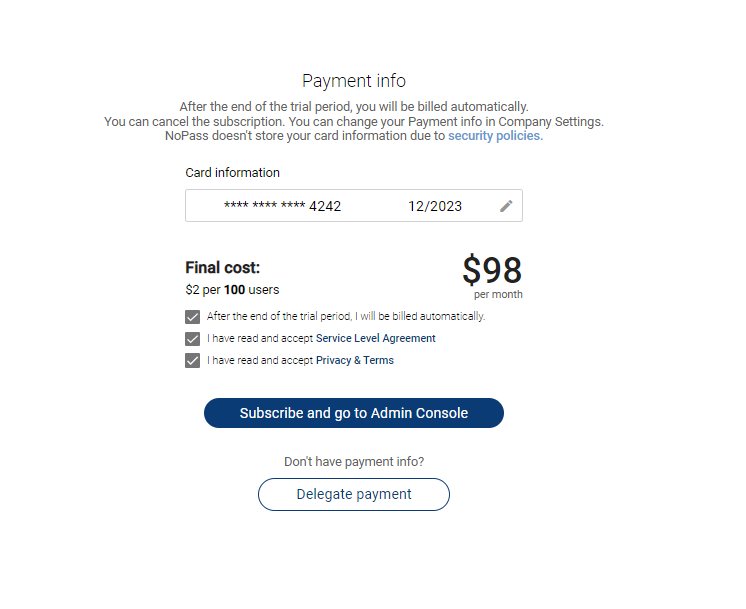
i. Fill in the Card information fields with the payment card details.
ii. Select the After the end of the trial period, I will be billed automatically, I have read and accept the Service Level Agreement, and the I have read and accept Privacy and Terms check boxes.
iii. Click or tap Subscribe and go to Admin Console.
If you don't have payment information:
i. Click Delegate payment.
ii. Type the email address of your financial manager and click or tap Send email.
7. After the payment is effected, the new Workspace is created.
Subscribe to a Standard plan without a trial period
1. If you set up the number of users exceeding 10,000 users, the Subscription shall not offer a trial period. Then, click Buy now.
2. If you already have your NoPass™ Profile registered, complete the Sign in to your Profile procedure. Otherwise, Create a Profile.
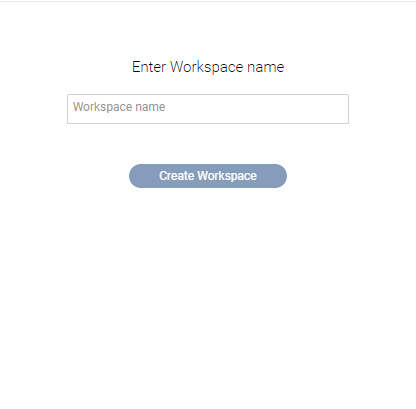
3. Enter the name of your Workspace and click Create Workspace.
4. Review the payment information and perform one of the steps below.
-
- If you are authorized to perform the payment, click Go to Payment.
- Otherwise, click Delegate payment.
5. On the payment screen, perform the following actions:
If you are authorized to perform the payment:
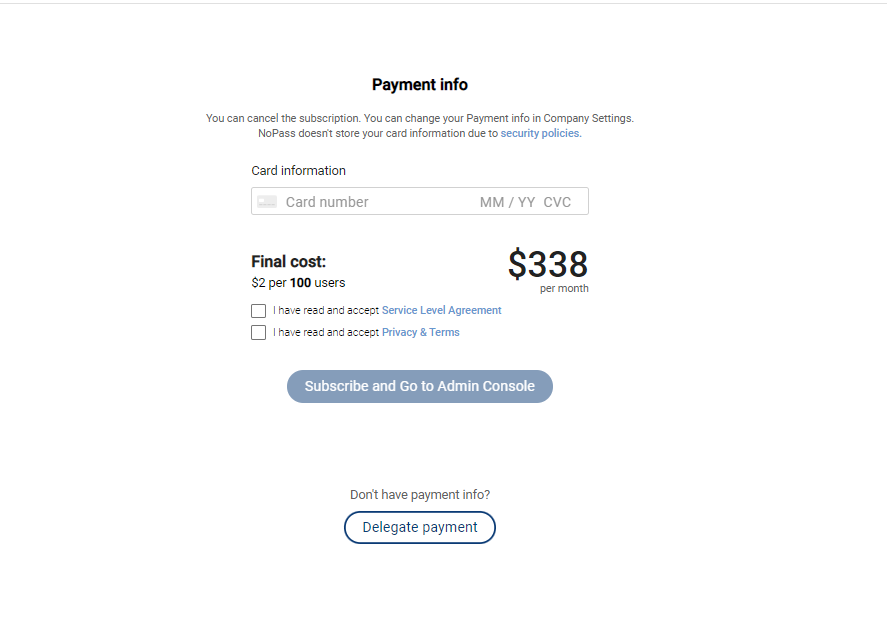
i. Fill in the Card information fields with the payment card details.
ii. Select the I have read and accept the Service Level Agreement and the I have read and accept Privacy and Terms check boxes.
iii. Click or tap Subscribe and go to Admin Console.
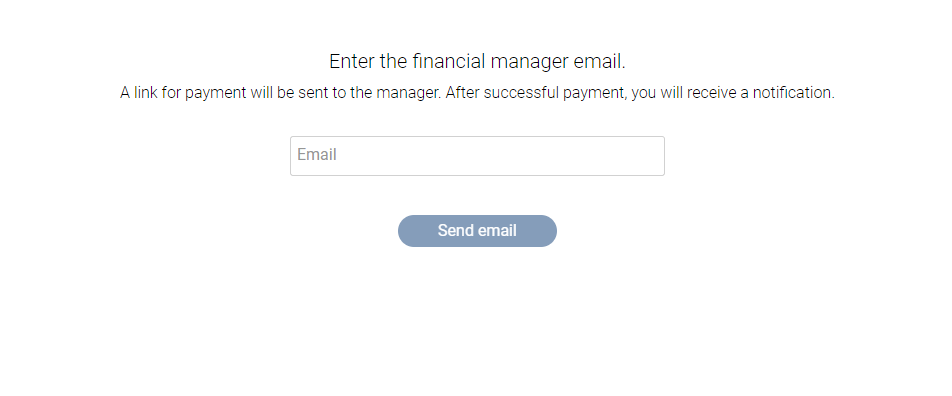
If you don't have payment information:
i. Click Delegate payment.
ii. Type the email address of your financial manager and click or tap Send email.
iii. After your financial manager receives the email, they should sign in to an existing profile or register a new profile with NoPass™ (see Create profile) and confirm the payment information. Meanwhile, the Workspace to be created has the Waiting for approval status.
For more details, go to Deleting the waiting for approval company .
iv. In case the financial manager is not authorized to perform the payment, they can delegate payment. Otherwise, the financial manager shall fill in the Card information in the following window, select the I have read and accept the Service Level Agreement and I have read and accept Privacy and Terms check boxes, and click Subscribe and go to Admin console.
6. After the payment procedure is completed, your Workspace is successfully created and you can begin work in your Admin Console.
Subscribe to a Custom plan
1. To subscribe to a custom plan, click Get custom quote.
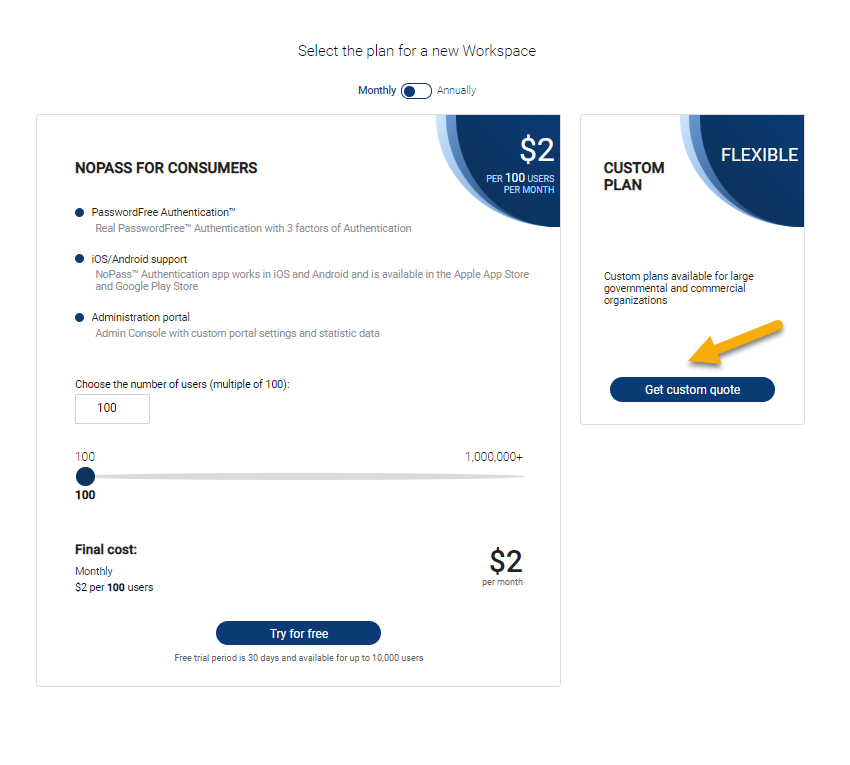
2) Fill in the form and click Submit.
Delete Workspaces
You can delete both already created Workspaces and those Waiting for approval status.
All Services become unavailable to the users.
The corresponding Subscription is removed from the list of available Subscriptions.
You as an Administrator shall still have access to the Workspace.
deleting a created workspace
Procedure
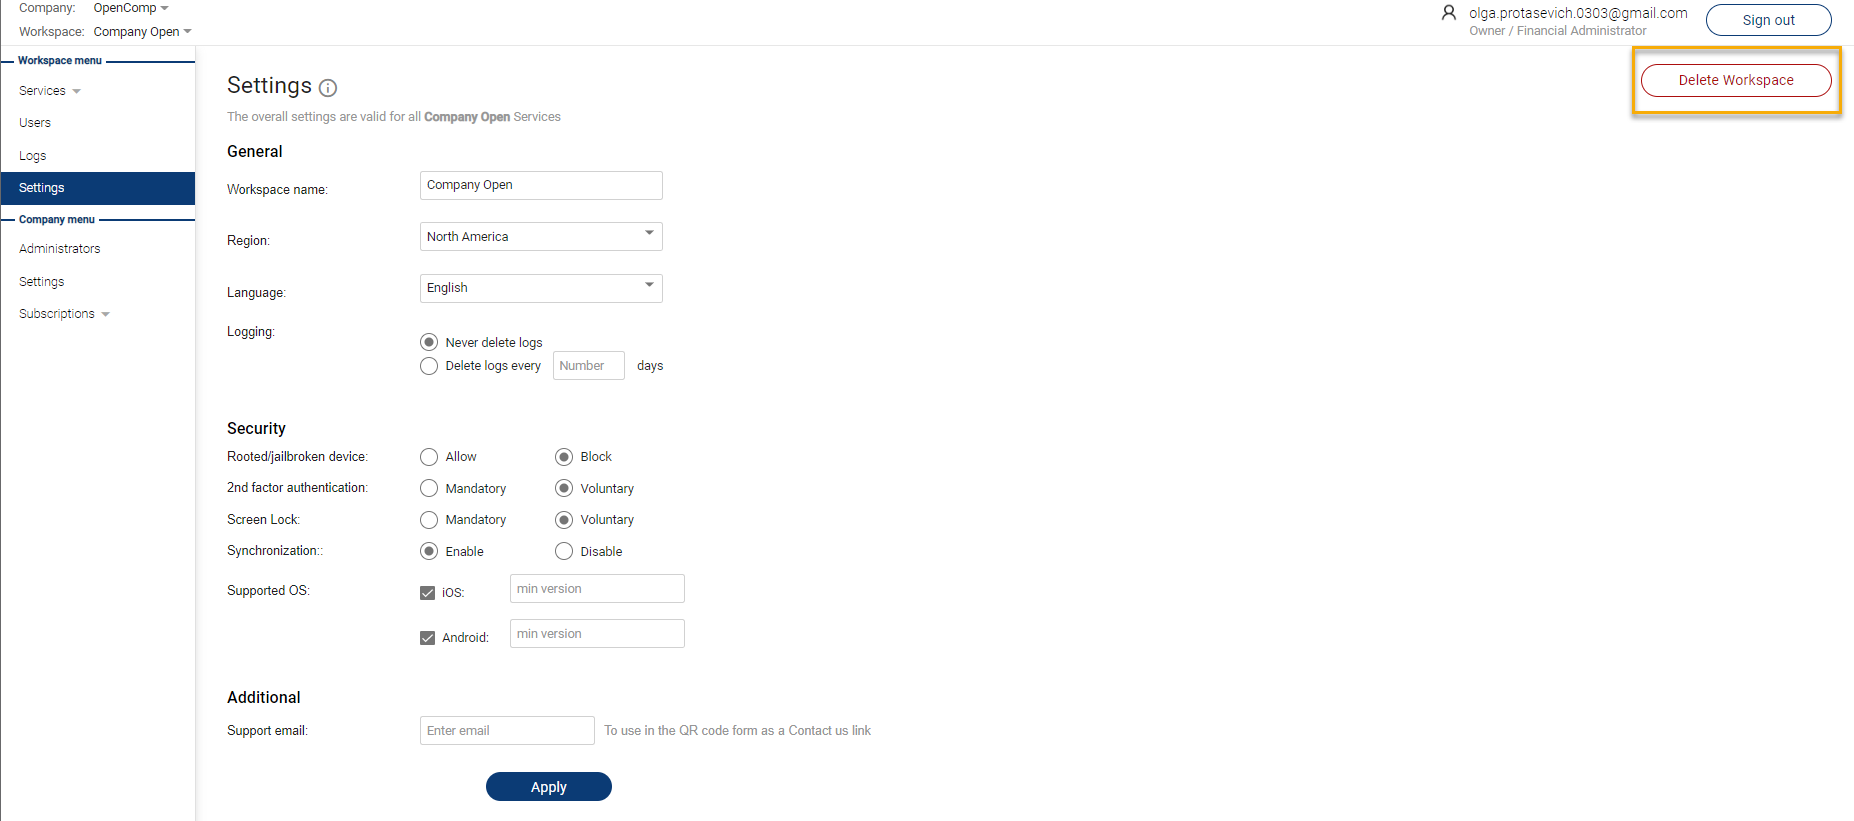
1. In the NoPass™ Admin Console, go to Settings in the Workspace menu.
2. Click the Delete Workspace button in the bottom right corner of the page.
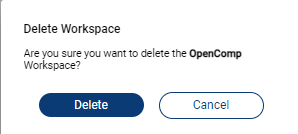
 3. In the following dialogue box, click the Delete button to confirm your action.
4. Before your Workspace is deleted, fill in the following form as to the reasons for such deleting.
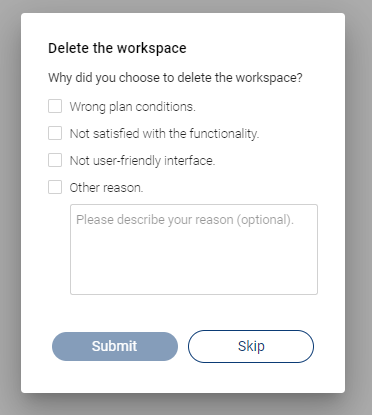
5. If you don't want to give your reasons, click Skip.
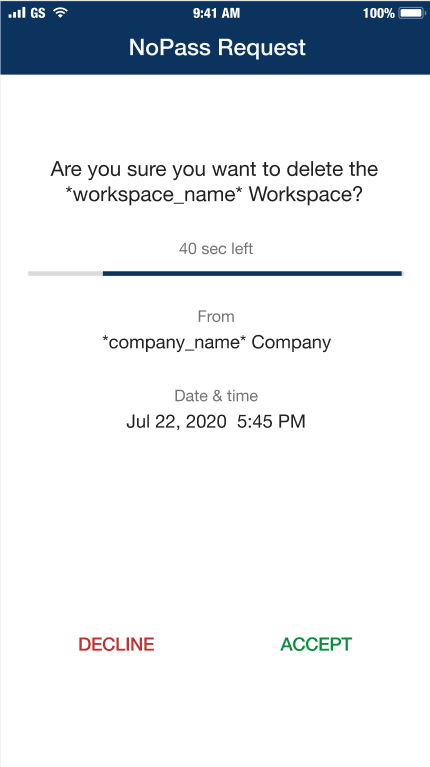
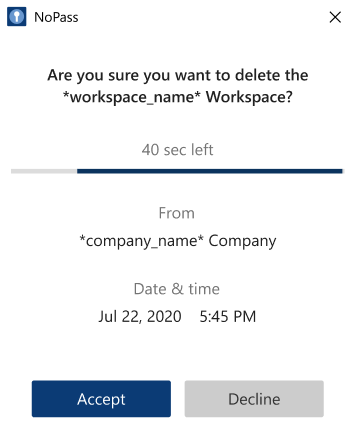
6. Tap Accept on the push notification on your mobile device or click Accept in the NoPass™ Desktop application.
Mobile app notification Desktop app notification
7. Your Workspace is deleted.
deleting the last workspace
Procedure
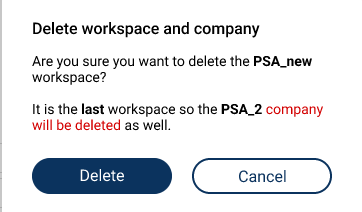
1. If you want to delete the last Workspace, the following dialogue box is displayed.
2. After you click Delete, a push notification shall be sent to your NoPass™ mobile and desktop application.
Mobile app notification Desktop app notification
3. To delete your last Workspace, tap Accept on your mobile device or click Accept in your desktop application. The following notification is displayed.
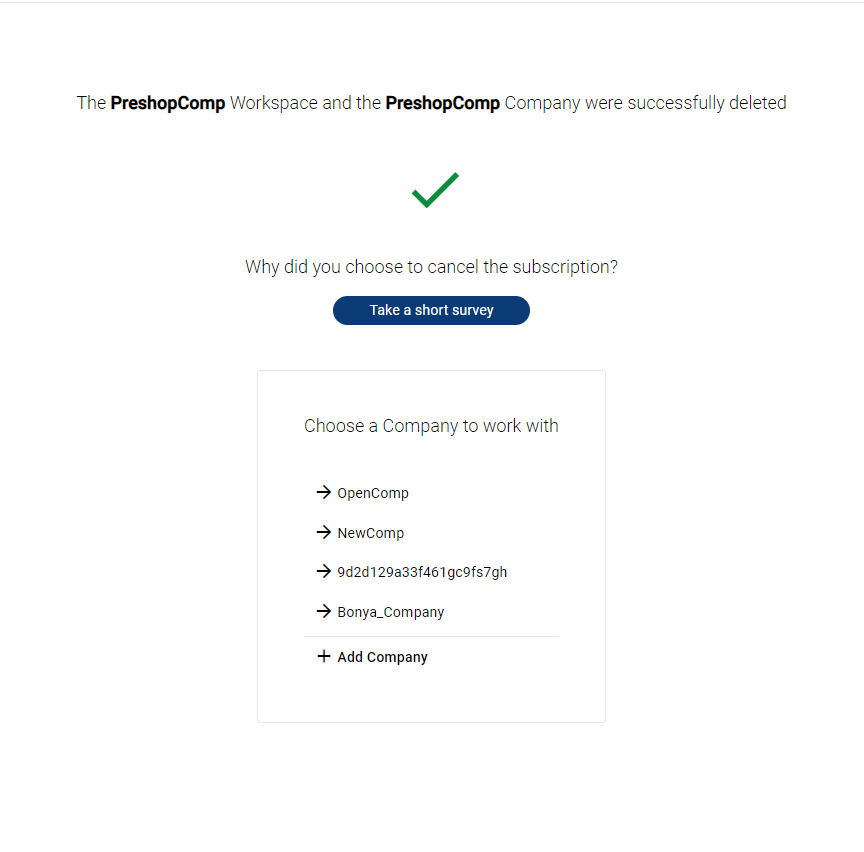
4. To answer the questions, click Take a short survey. Otherwise, click Skip and choose the Company to work with from the list.
deleting the waiting for approval workspace
After your Workspace is created, but before payment, the Workspace has the Waiting for approval status. If you don't plan to use this Workspace in the future, you can delete the Waiting for approval Workspace.
Procedure
1. To delete the Waiting for approval Workspace, you must unsubscribe. Go to the Subscriptions page in your Admin Console.
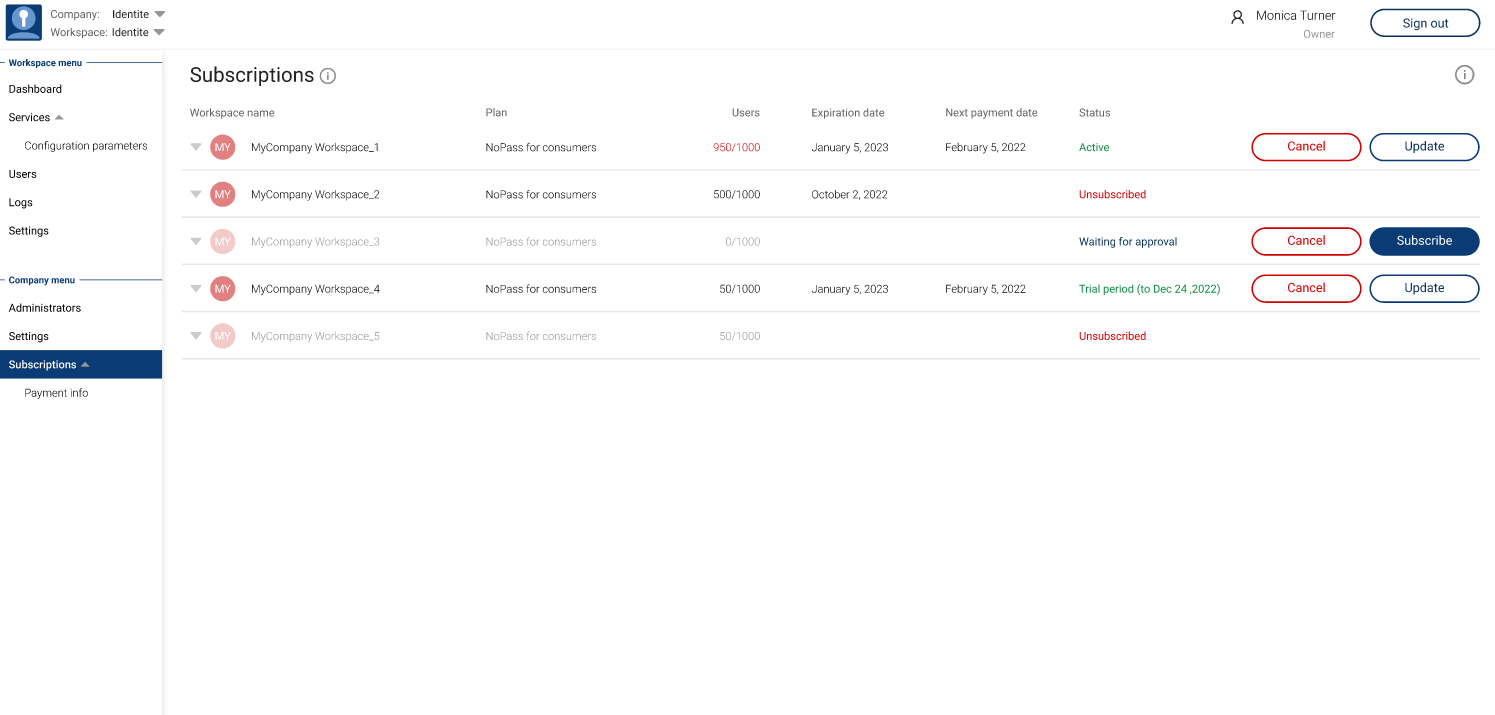
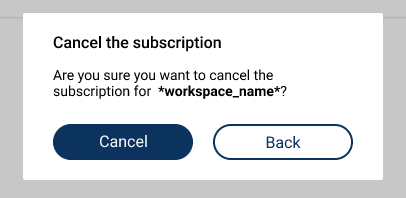
2. Choose the Workspace with the Waiting for approval status and click Cancel.
3. To confirm the Workspace deleting, click Cancel in the following dialogue box.
4. Your Workspace is deleted and the following notification is displayed on the Subscriptions page.
next topic: Services
previous topic: Company management