NoPass server installation setup
Downloading software
We provide preconfigured configuration files to help you install the NoPass™ application server.
Before you begin
To download the configuration files for your platform, go to Linux
Linux platform procedure
- Copy the link for Linux platforms, download the archive to your server, and unzip.
$ curl -LOJ https://repository.identite.us/repository/deployment_script/nopass.zip
Unpack the archive:
$ unzip nopass.zip
Unpacked files look as follows:
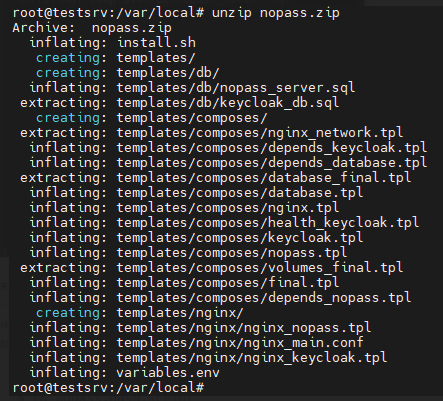
-
Copy SSL certificate (Public and Private keys) in this directory.
-
Open the variables file using $ nano variables.env and fill it in according to your needs.
If you plan on using the automatically preconfigured database server container, you should leave the database settings for NoPass™ and Keycloak as their default values and change only the ServerUrl for NoPass™/Keycloak. Save the file.
For reference, see Environment variables. -
Set execution permission to the ./install.sh script:
$ sudo chmod +x ./install.sh
- Launch the script and follow the commands:
$ sudo ./install.sh
- Generate the Firebase file as specified in the Firebase private key generation section and save it together with ./install.sh in the same directory.
If you are experiencing any issues or have any questions about the documentation, please contact support at support@identite.us.
next topic: NoPass™ server installation Linux Ubuntu
previous topic: Environment setup